DIY Recycled Bottle Hanging Planter
February 6, 2018
Most of the time the biosolids team tries to “DIY” (do it yourself) we end up with #pinterestfails. Perhaps we should stick to our day jobs – making sure Loop® gets to our customers so they can build good soil and grow lush fields and forests. But we’re human, and so occasionally, we get the urge to craft.
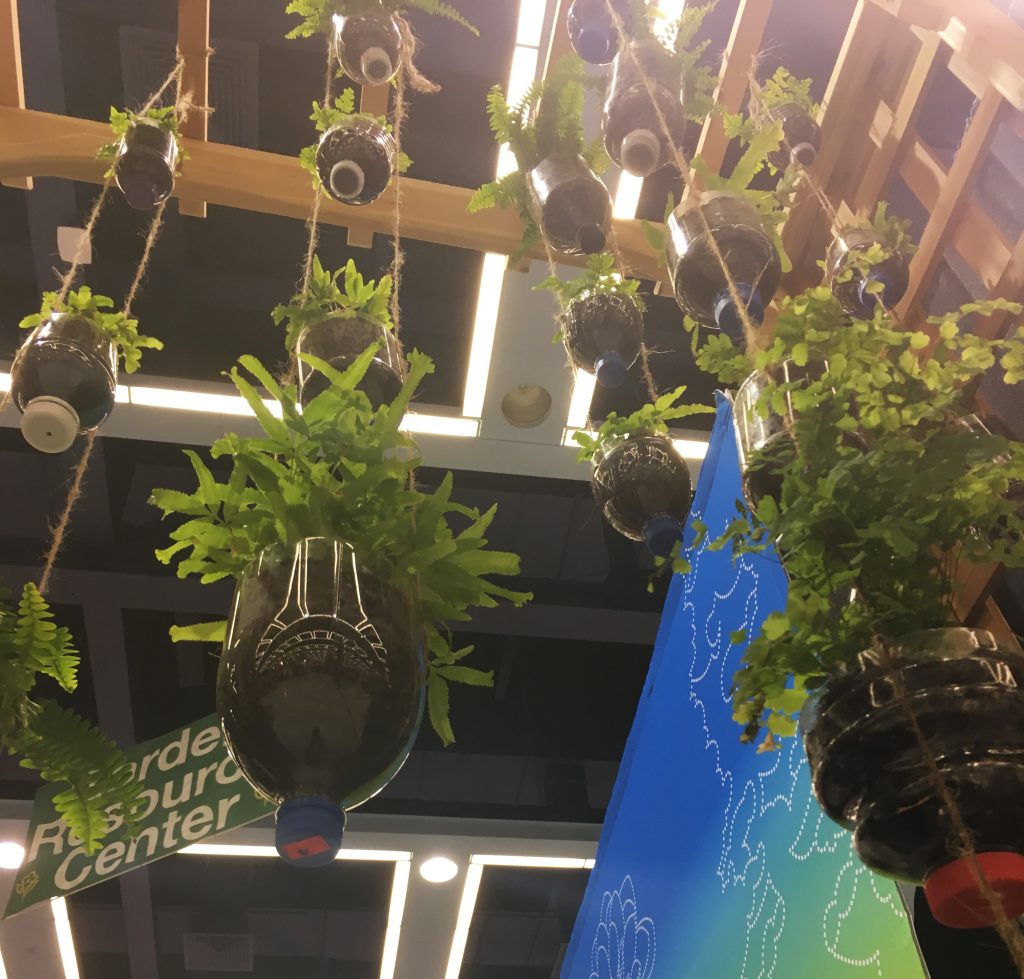
Every year for the Northwest Flower and Garden Show, Loop has a booth. We see more than 10,000 happy gardeners over 5 days. We pride ourselves on showcasing Loop’s endlessly renewable power to grow beautiful things. This means our communications project manager is always on the lookout for a good demonstration project for the booth. Almost every year, the project takes many, many more hours than anticipated and we all vow to pick an easier project the next year. And the next year. And the next.
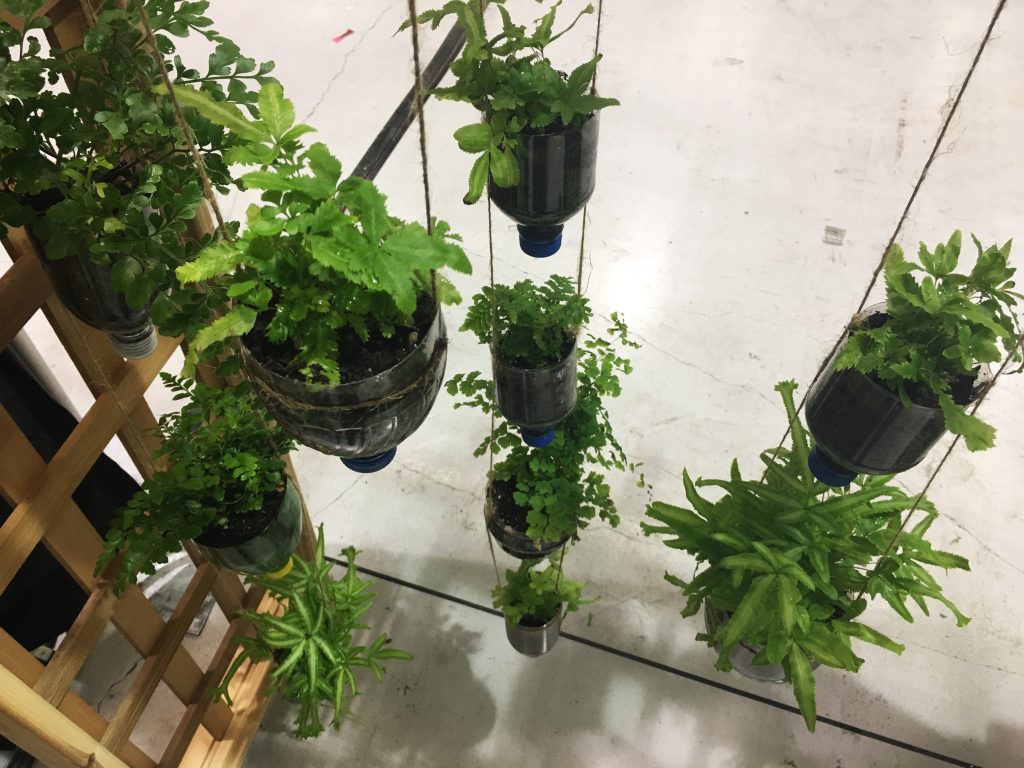
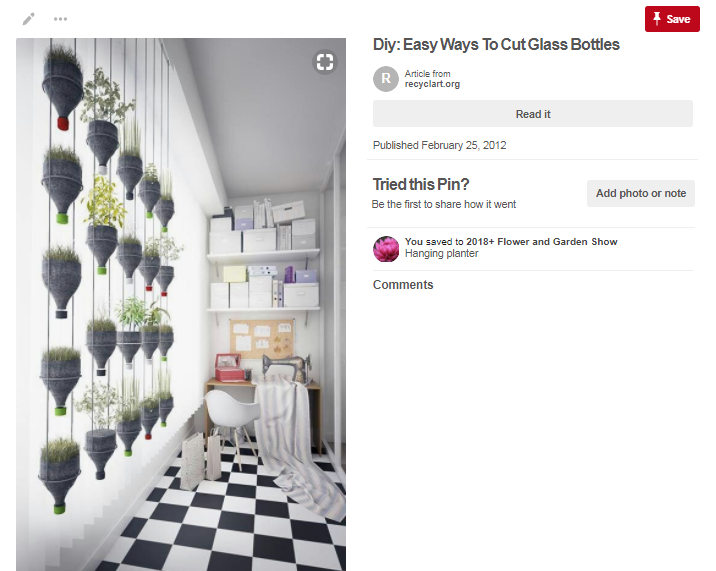
This year, we found a stunning winner worthy of sharing with you. It not only uses recycled products (which we love), but it was easy to make. Here was our original inspiration, and below you will find our step by step DIY guide.
*Note* Plant roots don’t like being exposed to light. This planter works best as temporary decor, otherwise you will need to paint the exterior of the plastic bottles an opaque color so light cannot shine through.
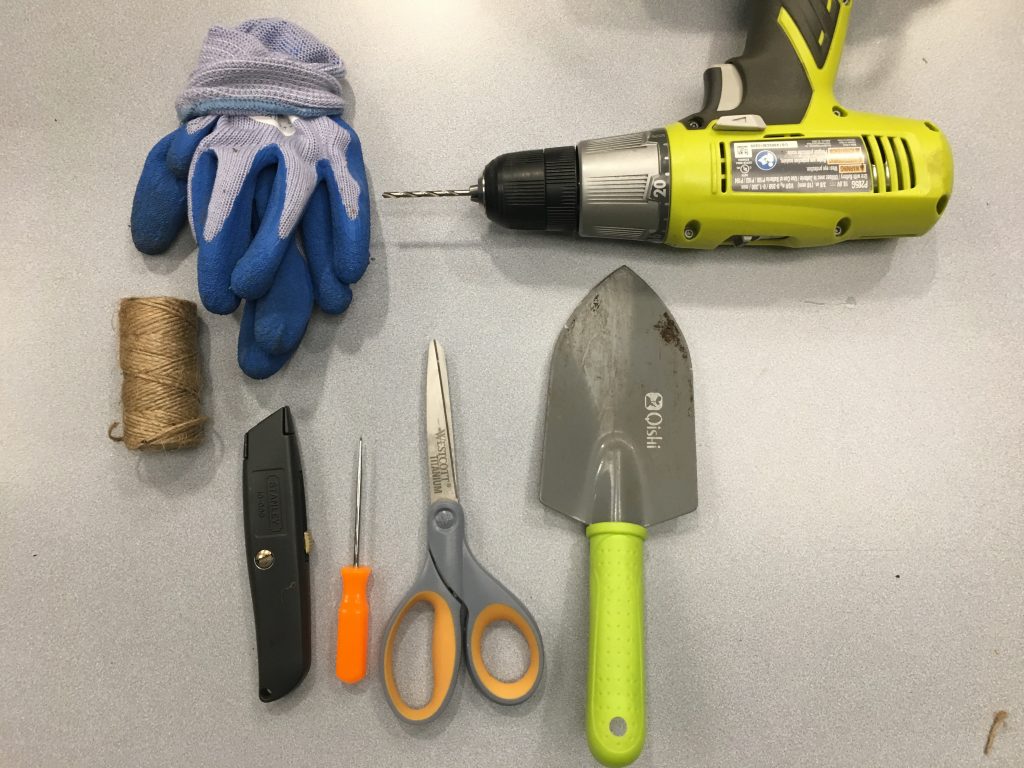
Materials list
- Plastic bottles with caps (washed clean, labels removed)
- Heavy duty string or twine
- A thin metal awl or similar tool
- Box cutter
- Scissors
- Drill and drill bits
- Gloves
- Garden trowel
- Potting mix (we mixed in GroCo compost made with Loop)
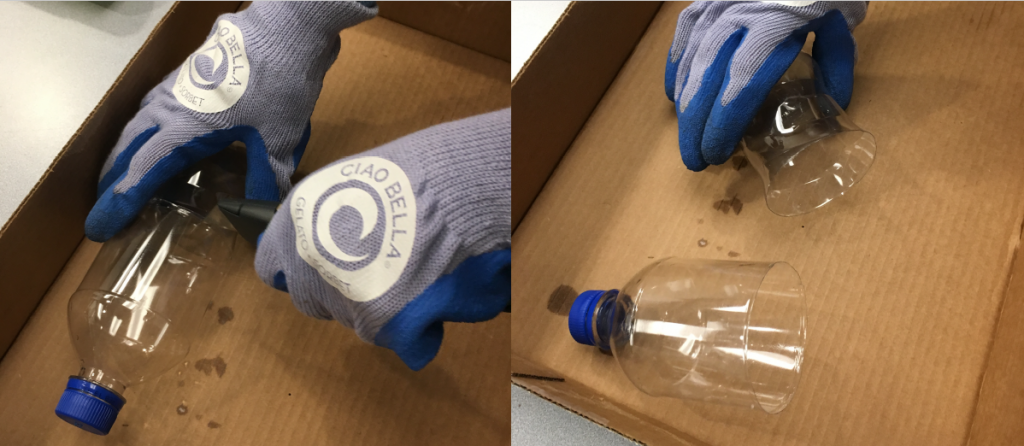
Step 1 Prepare the plastic bottles
- Wear gloves to protect your hands from sharp objects.
- Cut the bottles roughly in half using the box cutter. You will use the top half with the cap. Recycle the discarded bottom half.
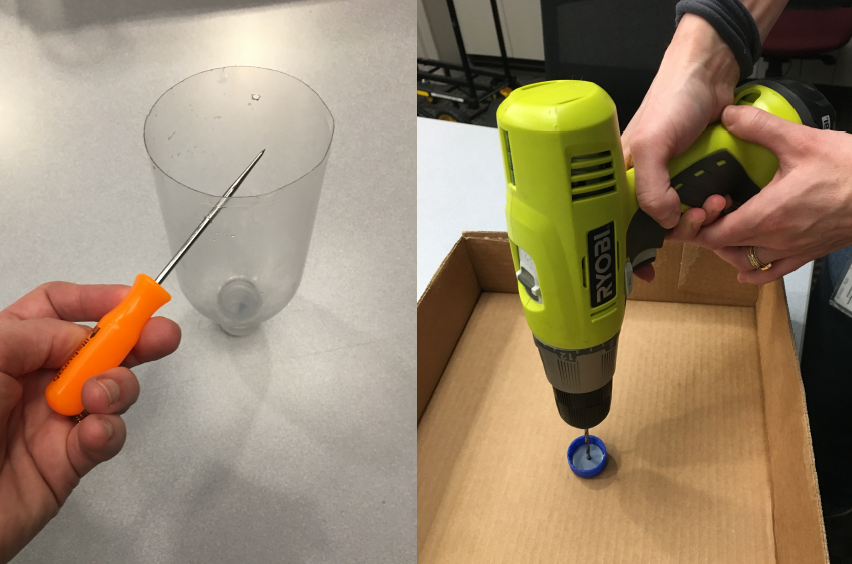
- Use the awl to poke two holes on opposite sides the bottle, about 1/2 inch from the rim of the bottle.
- Remove the cap. Place the cap on wooden board or a surface you don’t mind drilling though. Place the cap so the rim of the cap is facing up, towards you. Drill a hole through the cap so water will drain. (Note* If you do not want to place a dish under the bottom bottle to collect water, do not a drill a hole in this cap. All the bottles above it will drain into this bottle, so use larger bottle and fill it 1/3 of the way with small rocks, and then put in the soil and the plant. Since there’s no drainage, select a plant that doesn’t mind having wet roots.)
- Screw the cap back on the bottle.
- Repeat with remaining bottles.
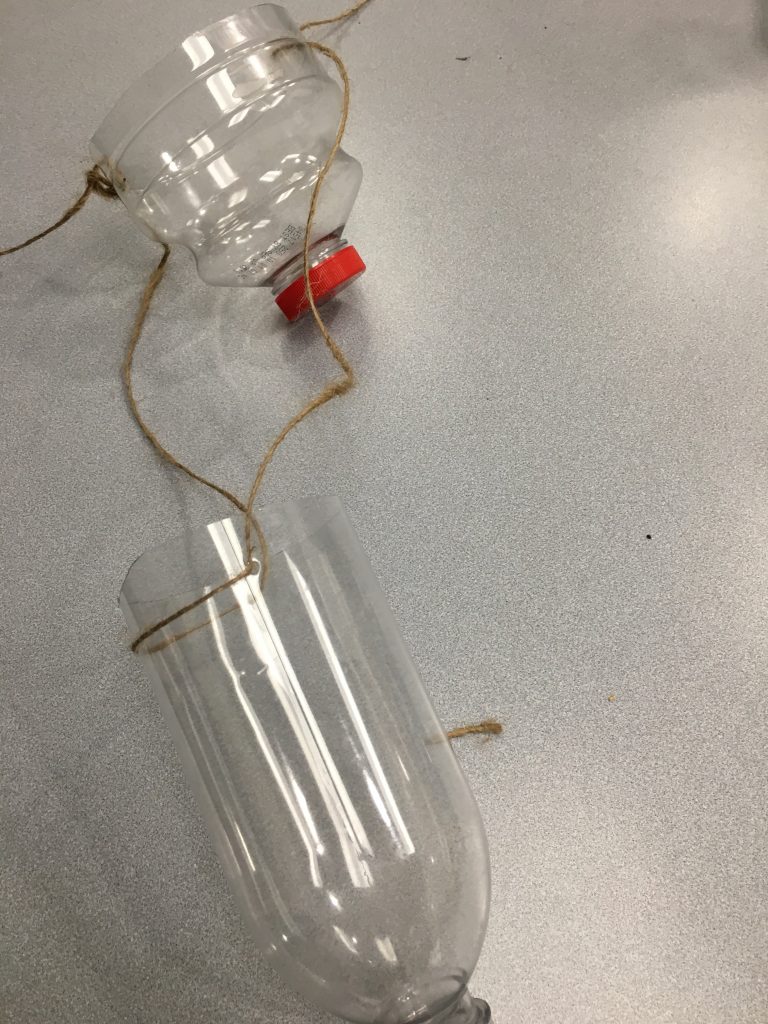
Step 2 String the planters
- Our inspiration had a sturdy metal frame – we didn’t have time for that. We used sisal twine, but this was a mistake. We recommend string that is stronger and more durable.
- Cut a long piece of string, double the length you need, with extra room for knots (and mistakes).
- Thread each end of the string through the holes for the bottle you’d like as the bottom bottle.
- Thread each side’s string through the holes for the next bottle and tie to secure in place, until you have the number of bottles you’d like (we did 3-6 bottles).
- Leave extra string at the top so you can hang your planter.
- Repeat until you have the number of hanging planters you’d like.
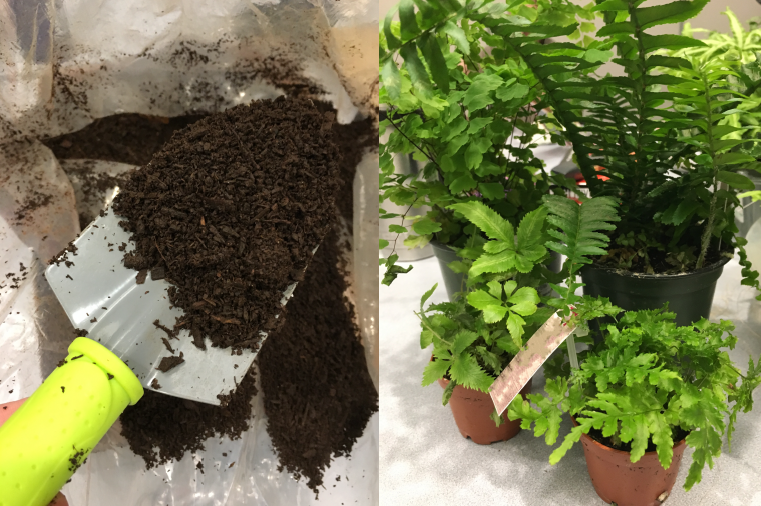
Step 3 Add the plants
- Use the garden trowel and add a little potting mix to the planter. Good potting mix with high quality compost will help the soil hold moisture like a sponge and provide slow release nutrients to feed your plants.
- Carefully slide the plant from its nursery pot, and gently shake the potting soil from its roots.
- Place the plant in the planter.
- Add potting mix around the plant, but leave a little room between the rim of the bottle and the top of the soil so you can water the plant easily.
- Water each plant.
Step 4 Hang the planter
- Pick a sunny spot, and hang your planter.
Step 5 Enjoy!